
Practical Icon Workflows
Icon extraction and export guides
Use these guides to choose the right detection method, fix difficult edges, and deliver a complete icon set in the format and sizes your project needs.
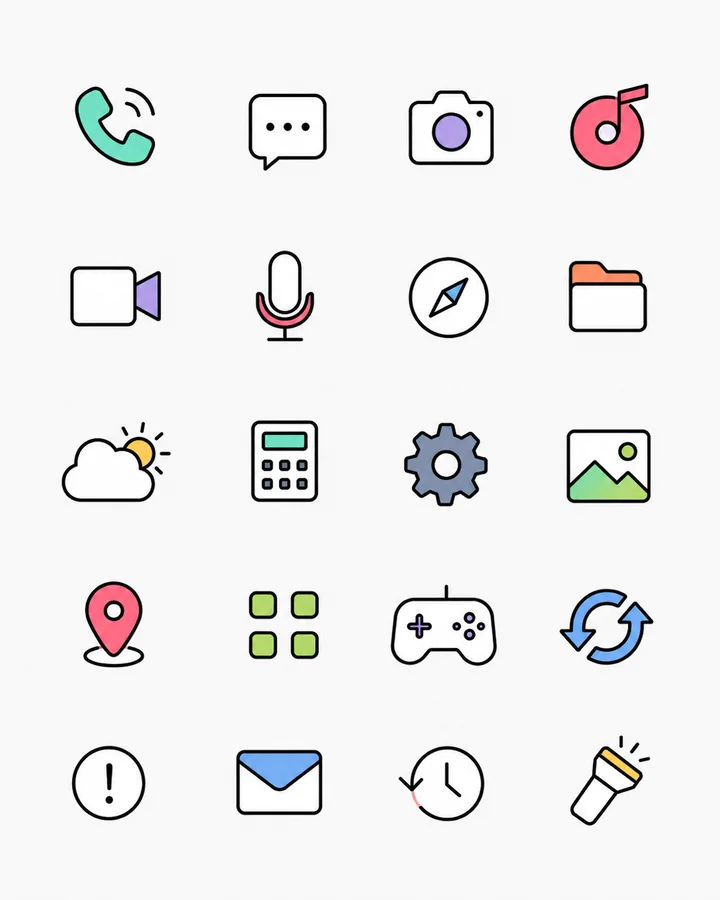
Split and select icons
Start with the workflow that matches the structure of your source image.
Automatic extractionTry a six-icon source, inspect Repair, and see a touching-shape failure.
Irregular icon sheetsHandle uneven rows, spacing, and icon sizes.
AI-generated asset boardsReproduce the 20-icon case and review detached details and open outlines.
Manual icon selectionDraw exact boxes around touching or missed icons.
Public extraction benchmarkReview measured results, misses, extra regions, and a transparent failure case.
Repair and smooth edges
Clean transparent boundaries without confusing raster smoothing with vector conversion.
Smooth jagged icon edgesUnderstand safe boundary smoothing and its limits.
Vector smoothing vs SVGChoose between preserving raster color and rebuilding paths.
How icon vectorization builds pathsSee how raster color regions become editable SVG geometry.
Transparent PNG cleanupPrepare predictable transparent pixels for design handoff.
Choose formats and sizes
Export each repaired result for web, UI, or scalable design use.
Batch export and ZIPInspect a real file list, padding examples, and free versus paid exports.
PNG vs WebP vs SVGCompare compatibility, file size, and editability.
Transparent WebPCreate compact raster files for modern web delivery.
Separate SVG filesConvert suitable icons into scalable paths.
Multiple export sizesGenerate original, fixed-size, and 1x/2x/3x assets.
Follow a worked example
Practical walkthroughs with source files and review checklists.
Troubleshoot a specific result
Read the IconSplit blog for focused diagnoses backed by test images.