
Turn an Icon Sheet into Transparent Icons for Presentations
Prepare transparent icons for slides and teaching materials: separate a sheet, review white fills, choose useful sizes, and build a consistent presentation set.
An icon sheet can supply a consistent visual vocabulary for a lesson, a process diagram or a slide deck. Separate the icons before arranging your slides, so each one can move independently and sit on the slide background without a white rectangle.
1. Choose a coherent set, not just a large one
Pick the icons needed for the lesson or story. For example, a mail, folder and download icon can represent receive, organize and deliver. Similar stroke weights and colors make a clearer sequence than mixing unrelated styles. Our six-icon studio sheet is a small source you can use to learn the workflow.
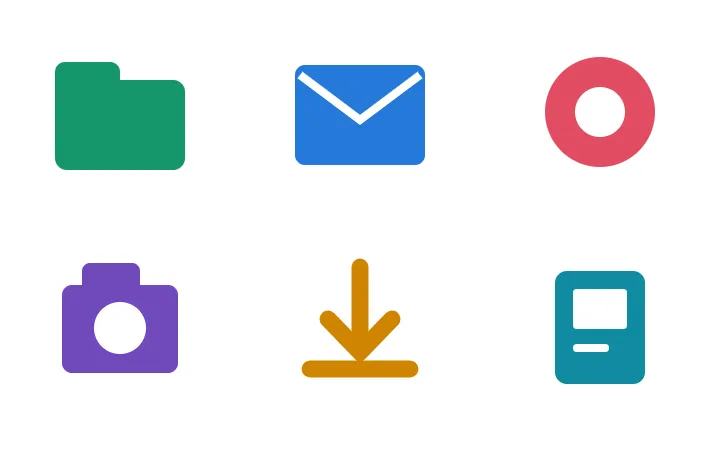
Try the six-icon example or download the source PNG. Running the example uses the normal recognition allowance.

2. Separate the sheet and preserve meaningful white
Run detection, review the regions, then open an individual result before exporting the set. Check whether the white area is merely the sheet background or an intentional part of the drawing. An outlined speech bubble may need its white interior even though the surrounding canvas should become transparent.
Inspect the output on a dark preview as well as a light one. If background cleanup removes the interior you need, compare with interior cleanup disabled. Avoid using stronger edge shrink to solve an interior-fill problem; it can thin the outline instead.
3. Match visual weight across a row of icons
Transparent PNGs can have the same file dimensions yet look different in size. A wide envelope and a round ring occupy their canvases differently. Place them in equally sized areas in the slide, preserve their aspect ratios, then judge the artwork rather than stretching everything into a square.
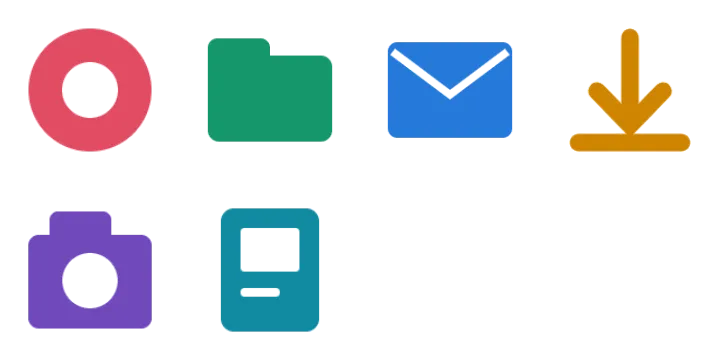
Choose enough output pixels for the size you intend to display. Upscaling a small source does not create extra detail. Keep a little padding when artwork would otherwise touch a frame or callout. The visual-size guide explains how canvas dimensions and artwork bounds differ.
4. Save a reusable set and check the final slide
Use role-based names such as receive-mail.png and organize-files.png. Download individual PNGs for a small selection or package a selected set as ZIP within your available allowance. Keep the source and final files together so you can revise the deck without re-extracting everything.
- View the slide at presentation size, not only zoomed in.
- Check contrast on the actual slide background.
- Keep labels as editable slide text instead of baking them into the icon.
- Check the final presentation or PDF export for halos, clipped edges and inconsistent sizes.
Start with the icon-sheet splitting guide, or inspect the fixed six-icon example ZIP. This demonstration package is downloadable without using your account's export allowance.
Free previews and paid delivery
Sign in to process 3 images per day, including examples. Free PNG exports have a maximum longest edge of 512px. Eligible accounts in the current trial receive 10 individual PNG icons per UTC day and one complete image as a PNG ZIP per UTC calendar month. The ZIP allowance is separate from individual PNG downloads. Other free accounts receive one PNG sample per image; check the allowance shown after sign-in.
The $1.99 24-hour pass includes unlimited image processing and PNG, WebP, SVG, ZIP, original-size and multi-size exports for 24 continuous hours from completed payment. One-time payment. No auto-renewal. The free allowance resumes at expiry. Compare the pass, Pro and Lifetime.