
How to Extract Icons from AI-Generated Images
From a generation brief to separate files: a practical checklist using a measured 20-icon board.
An AI image containing twenty icons is still one image, not twenty usable files. The practical job is to separate the artwork, check each result, and choose a delivery format. This walkthrough focuses on the decisions between those steps, rather than assuming the first generated board is ready to ship.
1. Ask for artwork that can be separated
Plan the icons you need before generating the image. Give each icon room around its silhouette, keep the background flat, and avoid shadows that connect neighboring objects. Save the original downloaded image instead of a compressed screenshot.
Here is a starting brief you can adapt in your image generator:
Create a board of 12 distinct flat interface icons:
mail, folder, camera, calendar, search, location,
music, settings, download, upload, heart, and star.
Use consistent stroke weight and a limited palette.
Put every complete icon on one plain white background.
Leave visible empty space around every silhouette.
No text labels, frames, touching objects, or shared shadows.
This is a suggested brief, not the original prompt for the example below, and it has not been benchmarked. The original example prompt was not retained. Image generators can still miss the requested count or invent details, so inspect the actual output rather than trusting the prompt.
2. Upload the board and count meaningful results
Upload your PNG, JPG or WebP to IconSplit and run automatic detection. Compare each selection with the original image before choosing what to export. The goal is one usable result per intended icon, not merely a matching total.
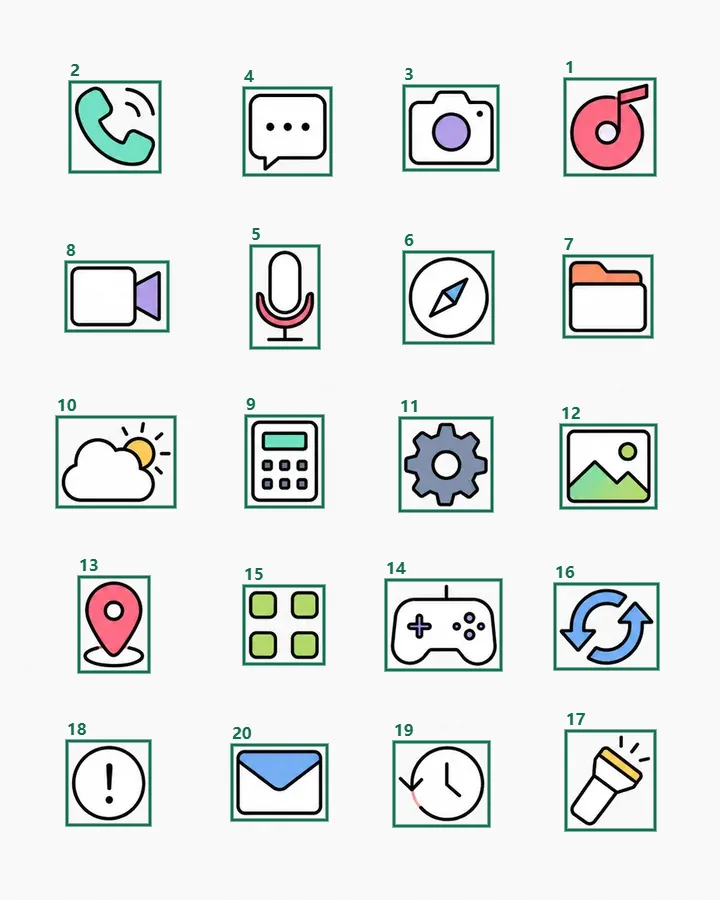
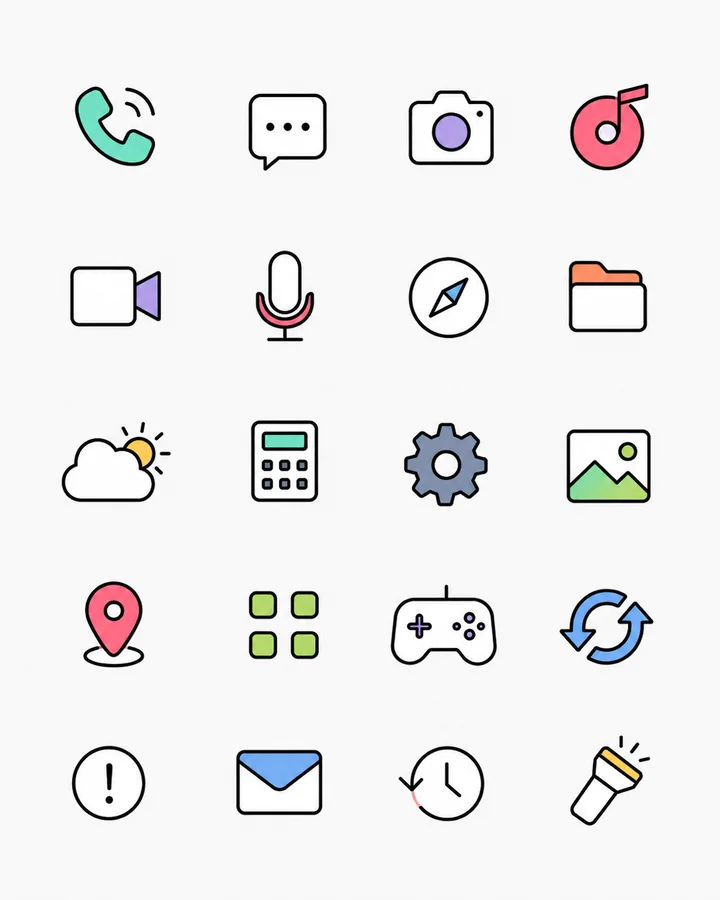
Try the 20-icon example or download its source image. Running the example uses the same recognition allowance as your own upload. The AI-board case study has the full detection measurements and unretouched output grid.
Look for these three mismatches: a single icon split into several regions; several icons grouped into one region; and extra selections containing labels or decorative marks. If a crop contains part of another icon, use the neighbor-fragment diagnosis before changing cleanup strength. Touching artwork may need manual selection or a revised source.
3. Review transparency before applying one setting to the set
Open an individual result in Repair. Compare it with the original on light and dark backgrounds, including interior holes. Our example needs particular attention around the camera interior, envelope opening, phone signal marks and flashlight rays.
- Preserve meaningful white areas. Interior cleanup can remove background-colored pixels that belong to the artwork. Compare the result with that option off before accepting it.
- Use edge shrink sparingly. Moving the boundary inward can trim residue, but it can also remove thin strokes. Begin with the unchanged result.
- Do not mistake missing artwork for background residue. If the AI source has an open outline or a missing detail, cleanup cannot reconstruct the intended drawing.
Apply changes to the whole set only after checking that the same issue affects the other icons. A good adjustment for a solid folder can be too aggressive for a thin outline.
4. Choose a format for the next job
Use PNG or WebP when the repaired raster appearance is what matters, especially for shaded or textured artwork. Use SVG when you want reconstructed vector shapes and are willing to inspect changes to geometry and color. Selecting PNG with Vector smoothing is not the same as exporting an SVG.
For vector delivery, continue with the step-by-step SVG export walkthrough. Keep a PNG reference alongside the vector result so you can compare small details during review.
Before downloading a set, remove unwanted results, rename files by purpose, and check the dimensions and padding. A 128px longest edge does not guarantee a square canvas or equal visual weight across all icons.
Turn your board into individual assets
Sign in to process 3 images per day free and download one PNG per sheet up to 512px. Complete sets, ZIP, WebP and SVG exports require Pro or Lifetime.